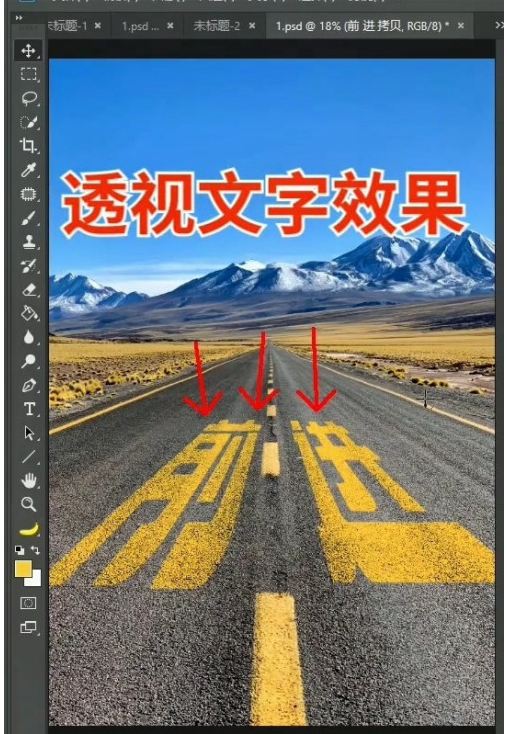
PS怎么制作透视文字?PS使用过程中,我们可以利用软件工具制作各种有趣的图片和创意文字,但是相信很多小伙伴都不清楚PS制作透视文字的方法,那么接下来小编就为大家带来详细的制作教程,感兴趣的小伙伴可不要错过哦!
PS怎么制作透视文字
1、打开侧边栏文字框输入要透视的文字;
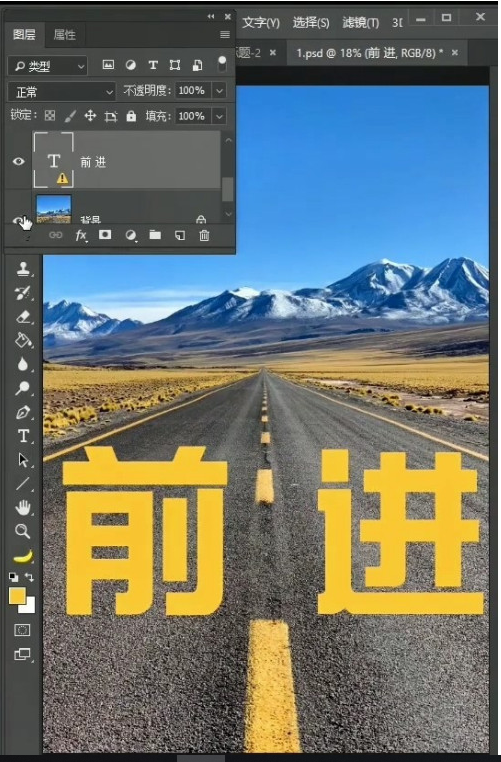
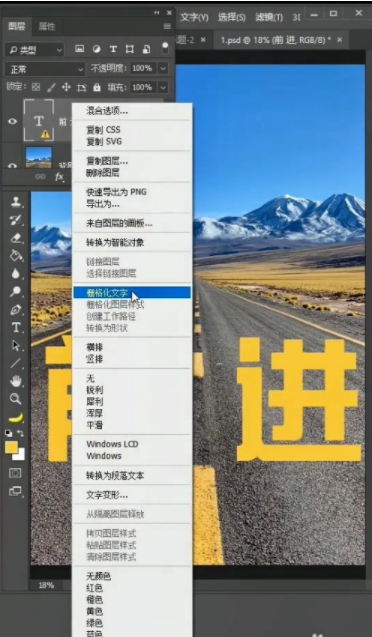
2、右键点击文字选择“栅格化文字”或者“转为智能对象”;
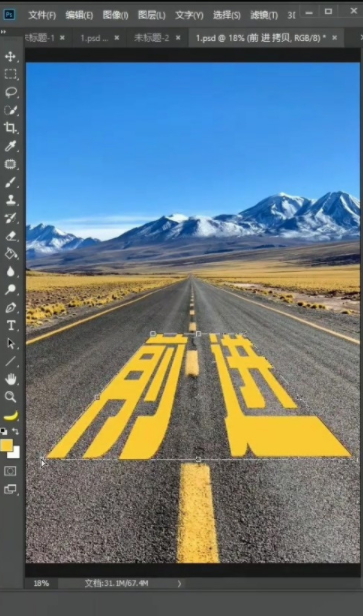
3、选中文字,点击键盘“Ctrl+T”,右键鼠标选中“透视”;

4、用鼠标拖拽4个角落,形成透视效果;
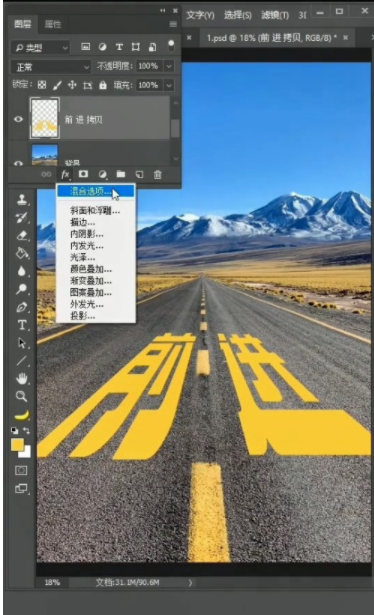
5、选择文字图层,点击“fx”混合按钮;
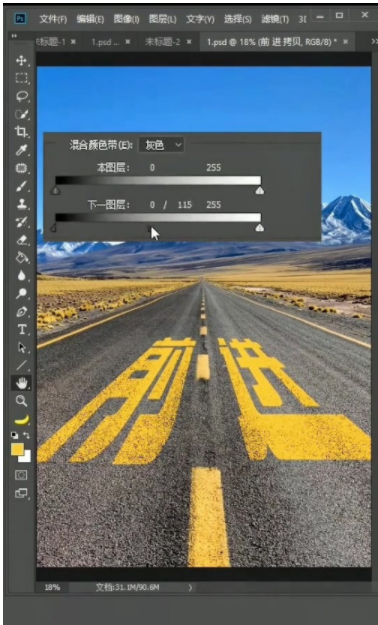
6、在混合选项中调整“混合颜色带”到合适位置即可;
以上就是PS透视文字制作教程的全部内容了,赶快收藏果粉迷下载更多软件和游戏吧!